LITTLE PLAY TABLE · DIGITAL BUILD PLANS
A little place for big play.
Clear illustrated plans for a low wooden play table with a fixed shallow rim — simple in form, carefully worked out.
Digital product. Wood, materials and tools are not included.
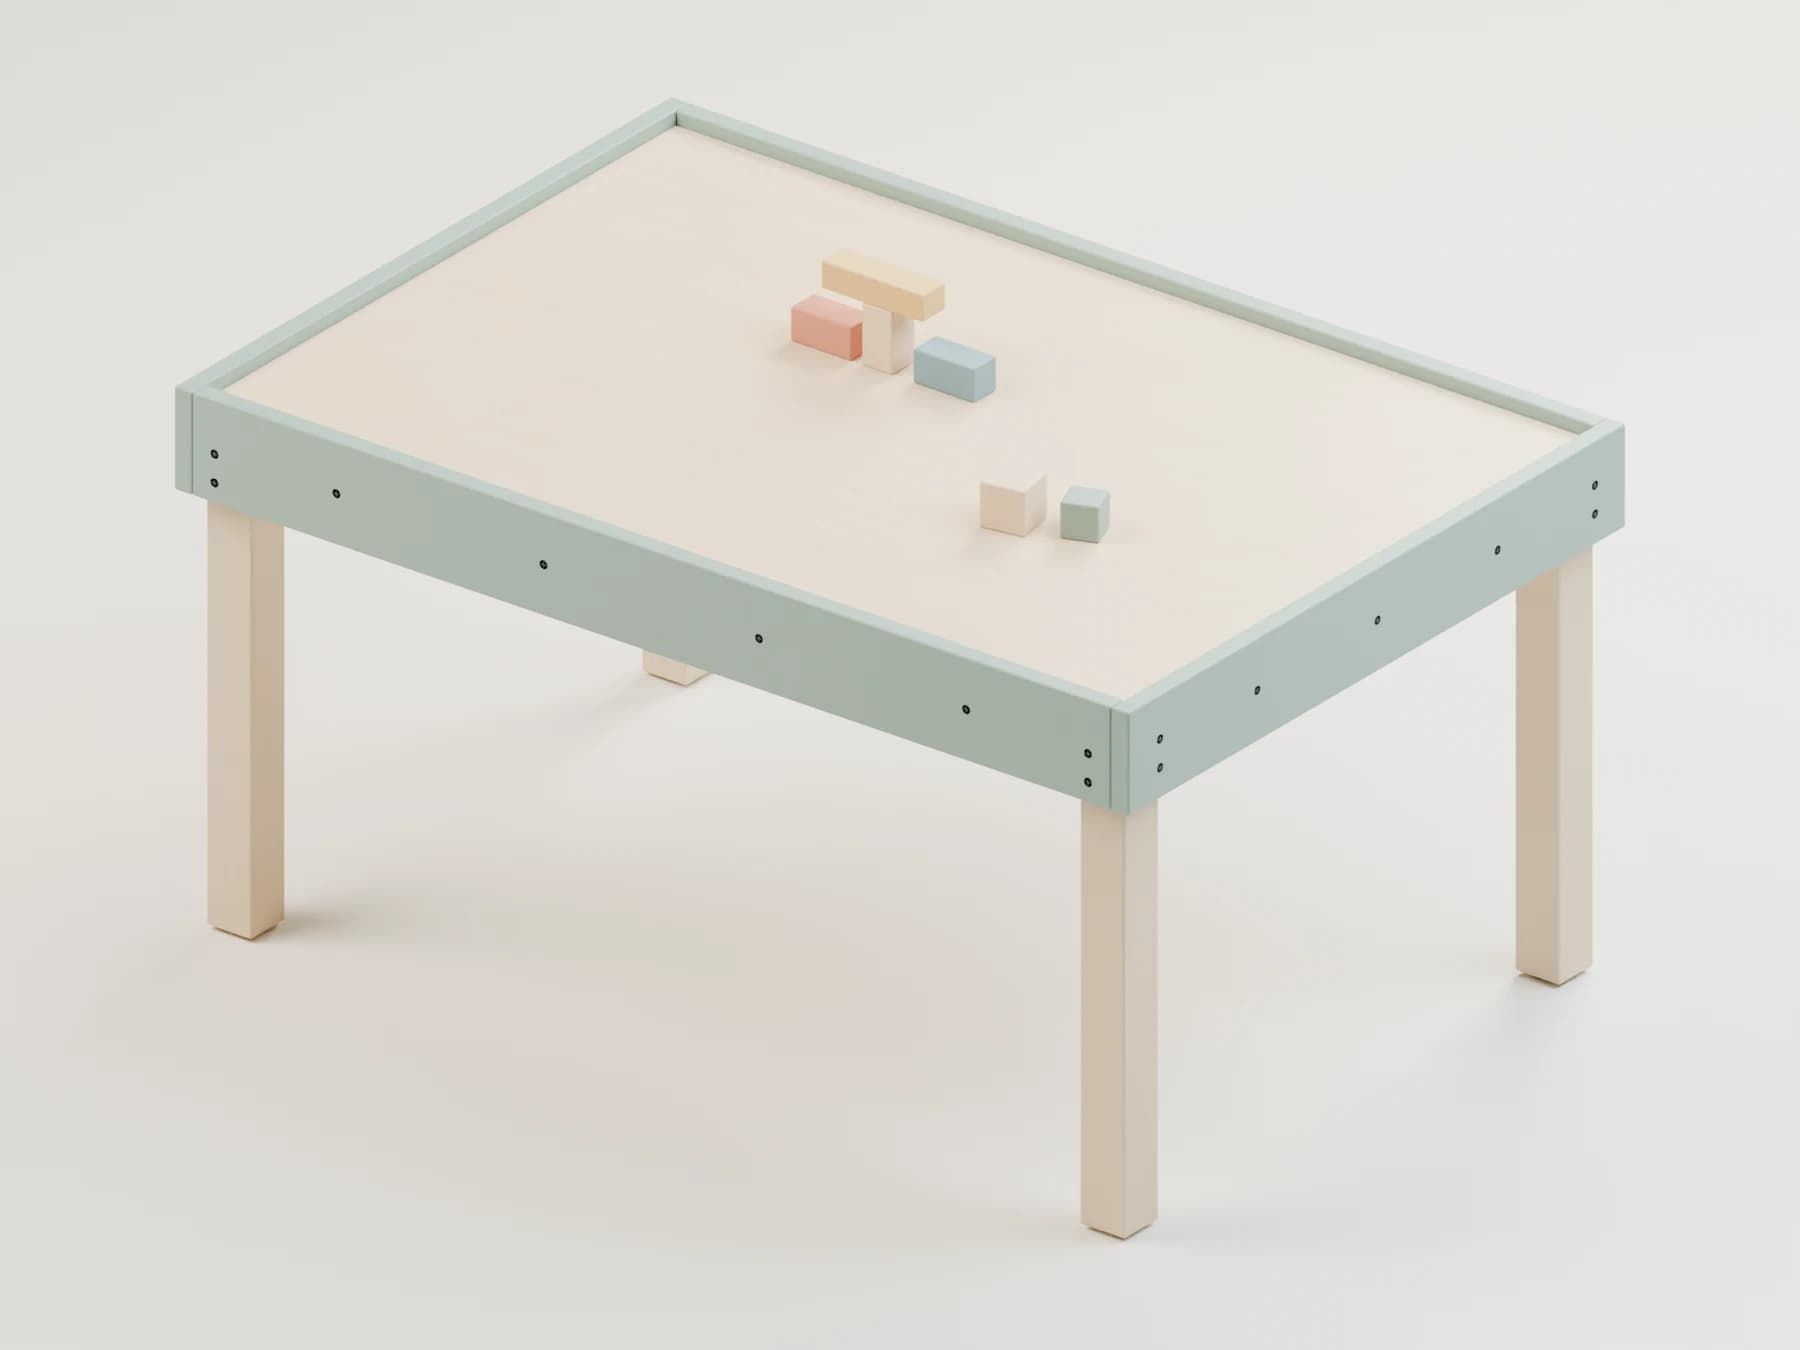
01 · THE DESIGN
Quiet enough for your room.
Simple by design.
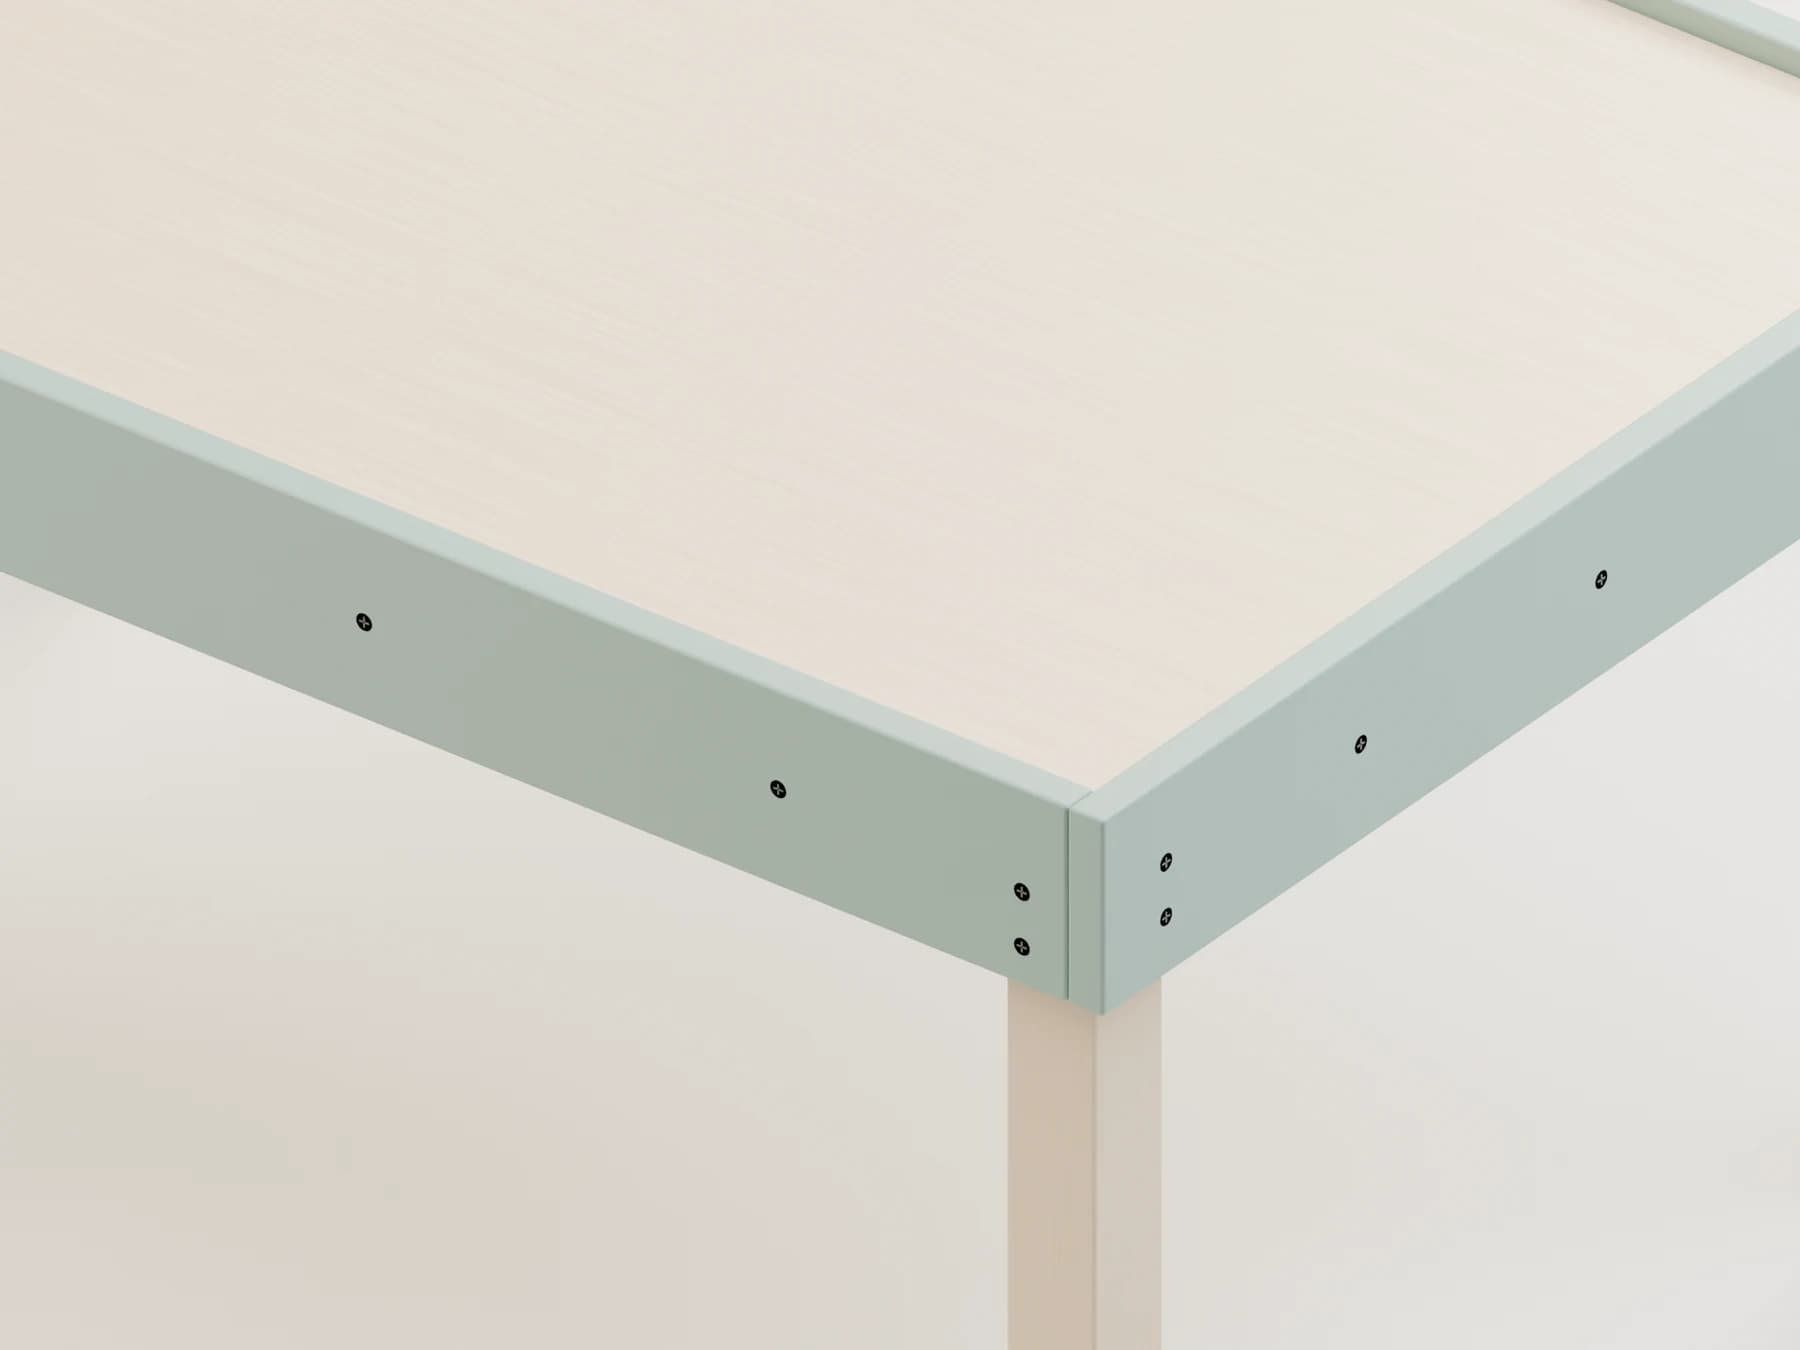
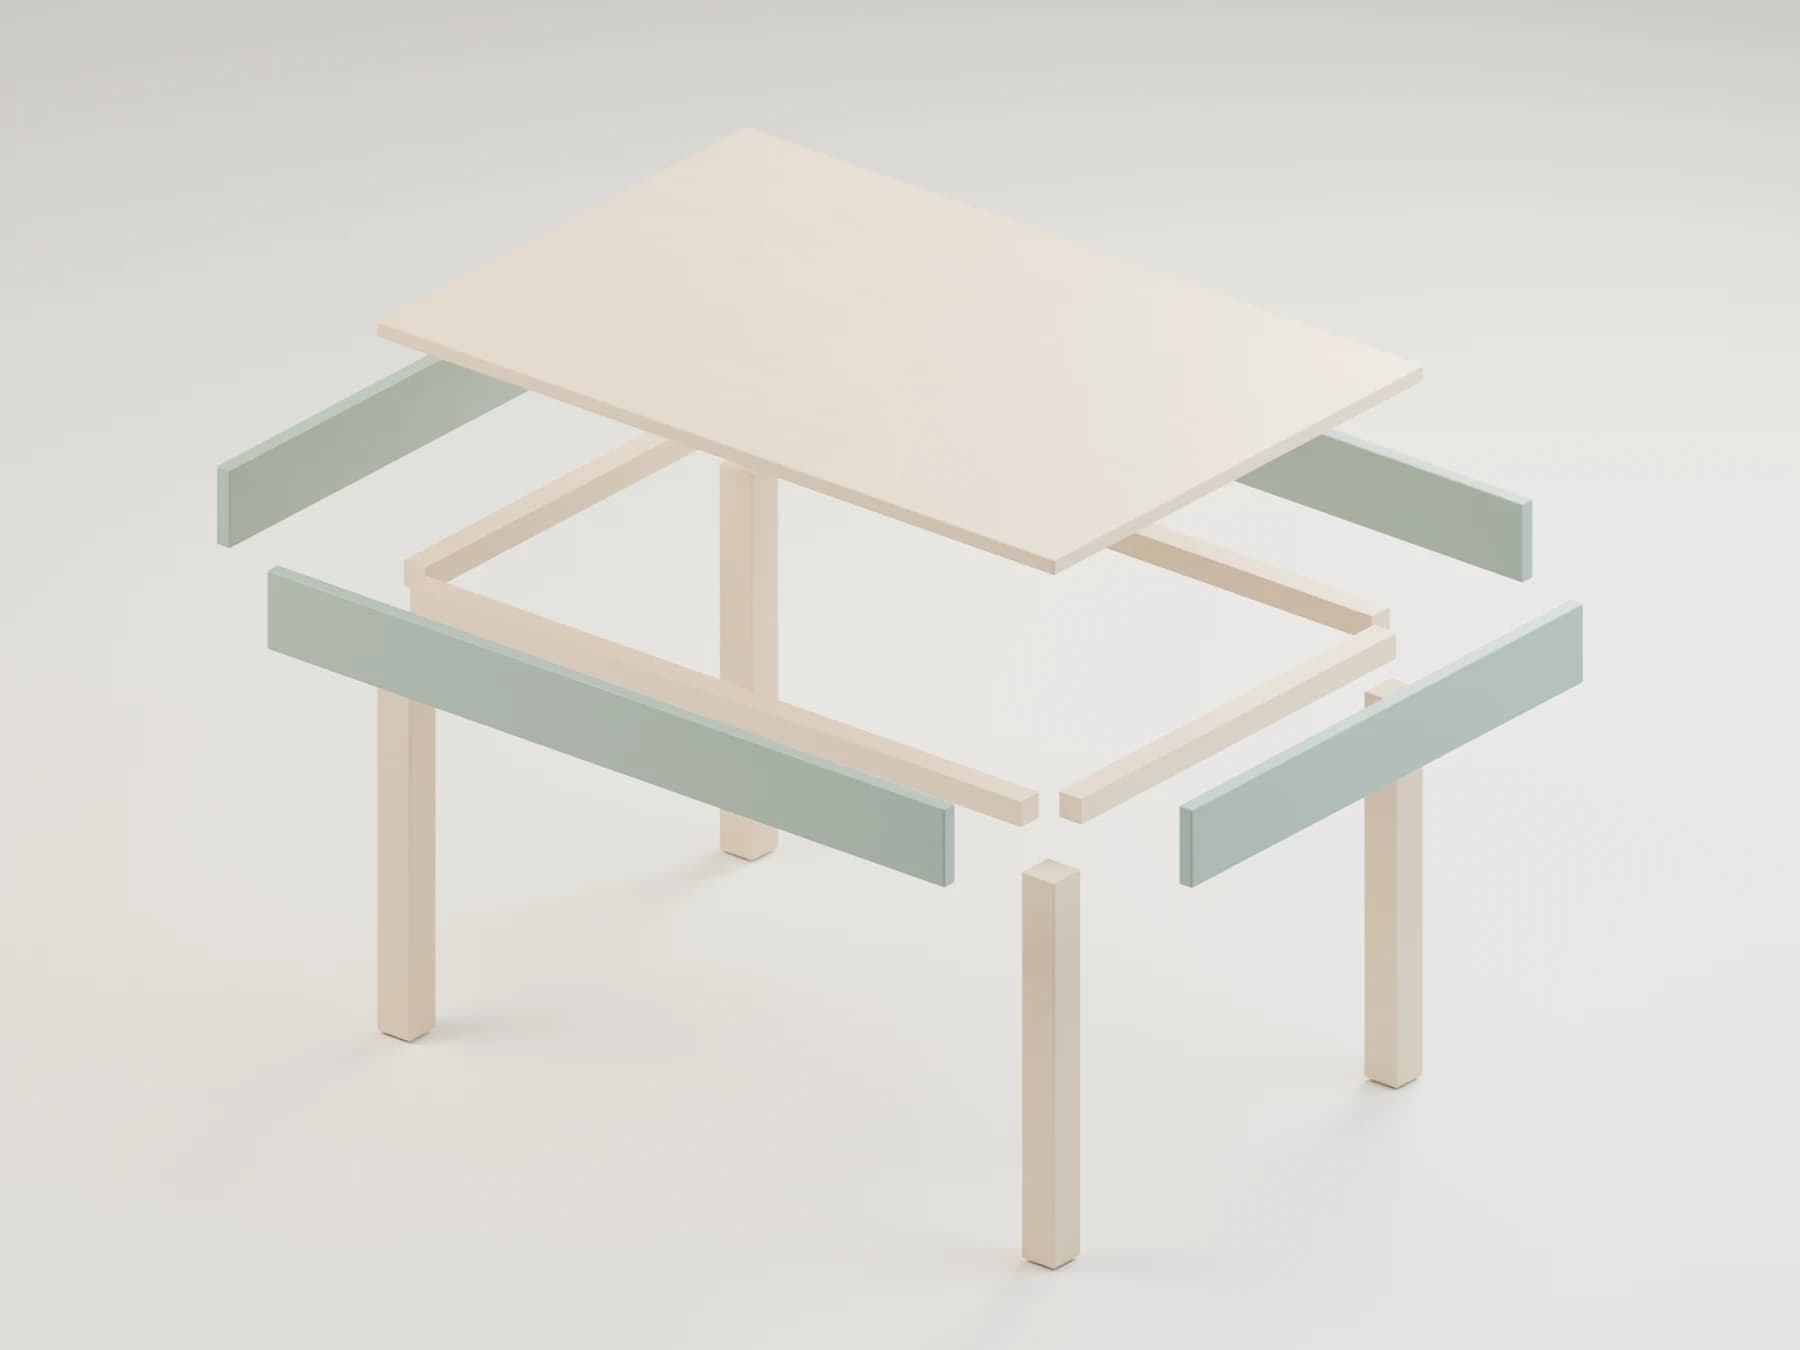
A 900 × 600 mm play surface bears directly on four legs and four continuous support cleats. The aprons form a shallow rim: enough to contain blocks and train pieces, with no lids, hinges or loose panels.
- Surface height
- 458 mm · 18 in
- Materials
- Birch plywood + dry solid timber
- Assembly
- Glue, pre-drilled countersunk wood screws
02 · INSIDE THE GUIDE
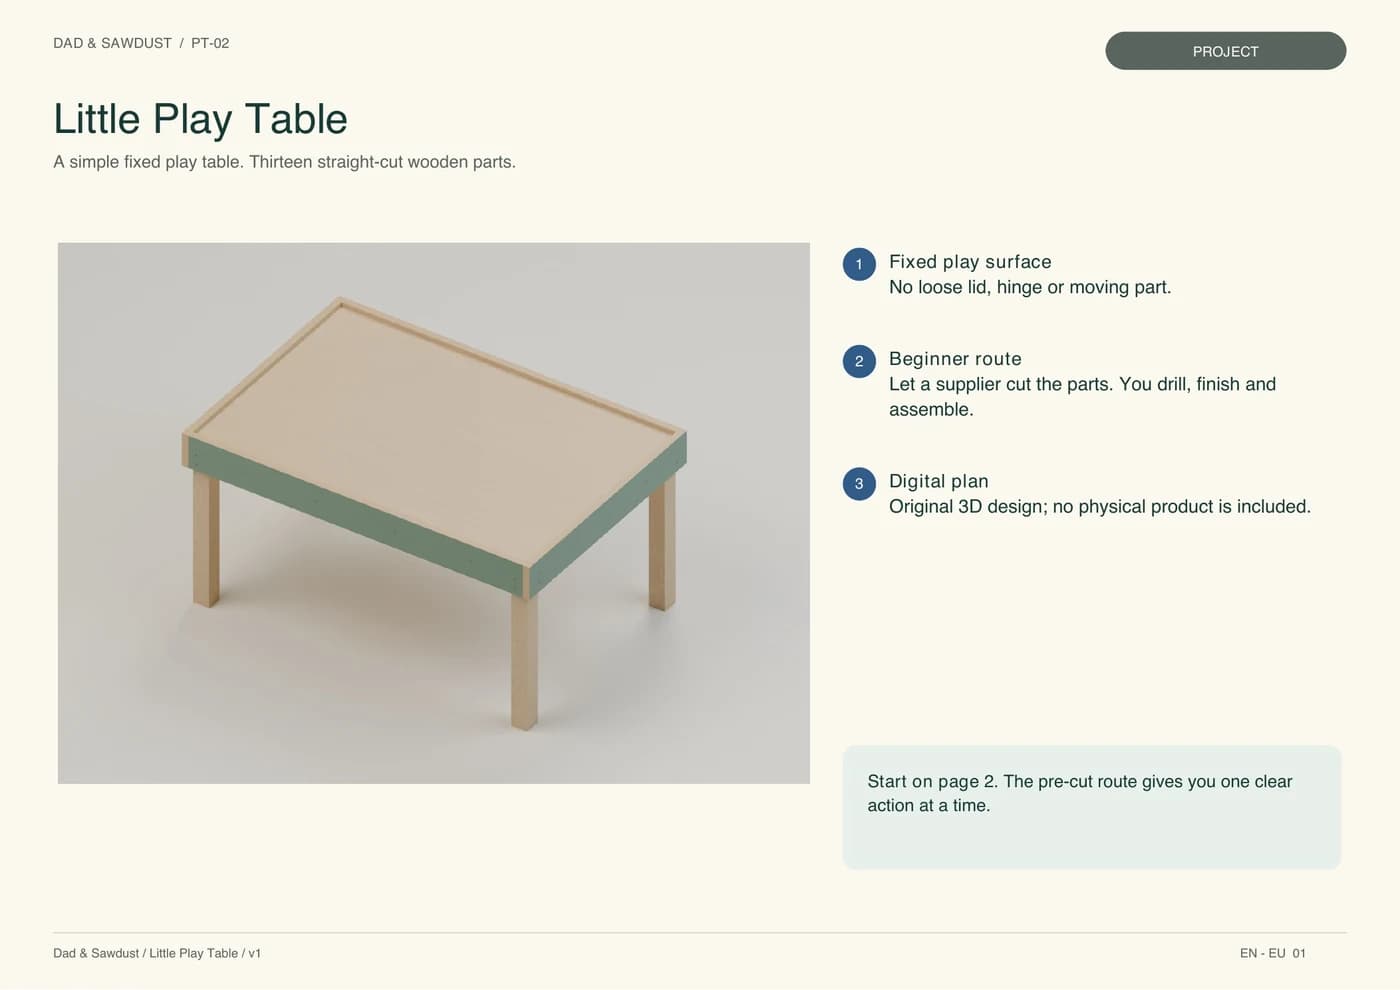
No leaps. One clear route.
Choose one language and measurement edition. You receive its illustrated PDF, matching cut list, shopping list and START file.
03 · FROM PARTS TO TABLE
See the construction in twenty seconds.
The animation uses the same 3D model as the images and manual.
04 · THE BUILD ROUTE
Five manageable stages.
For adults who can measure accurately, prepare timber safely and use a drill with control.
Take the cut list to a timber supplier. Your hands-on work then starts with checking, drilling, sanding and assembly.
- 01
Order the cut parts
Ask a timber supplier to cut all 13 parts from the cut list and label every piece.
- 02
Drill and dry-fit
Mark the drilling positions, pilot with a depth stop and check the frame without glue.
- 03
Sand and finish
Ease the edges and finish the parts. Keep the marked glue patches bare.
- 04
Assemble the frame
Glue and screw the aprons to the legs, then fit the four support cleats.
- 05
Fit the top and check
Fasten the top from below, then check joints, splinters, square and four-foot contact.
THE JOINTS
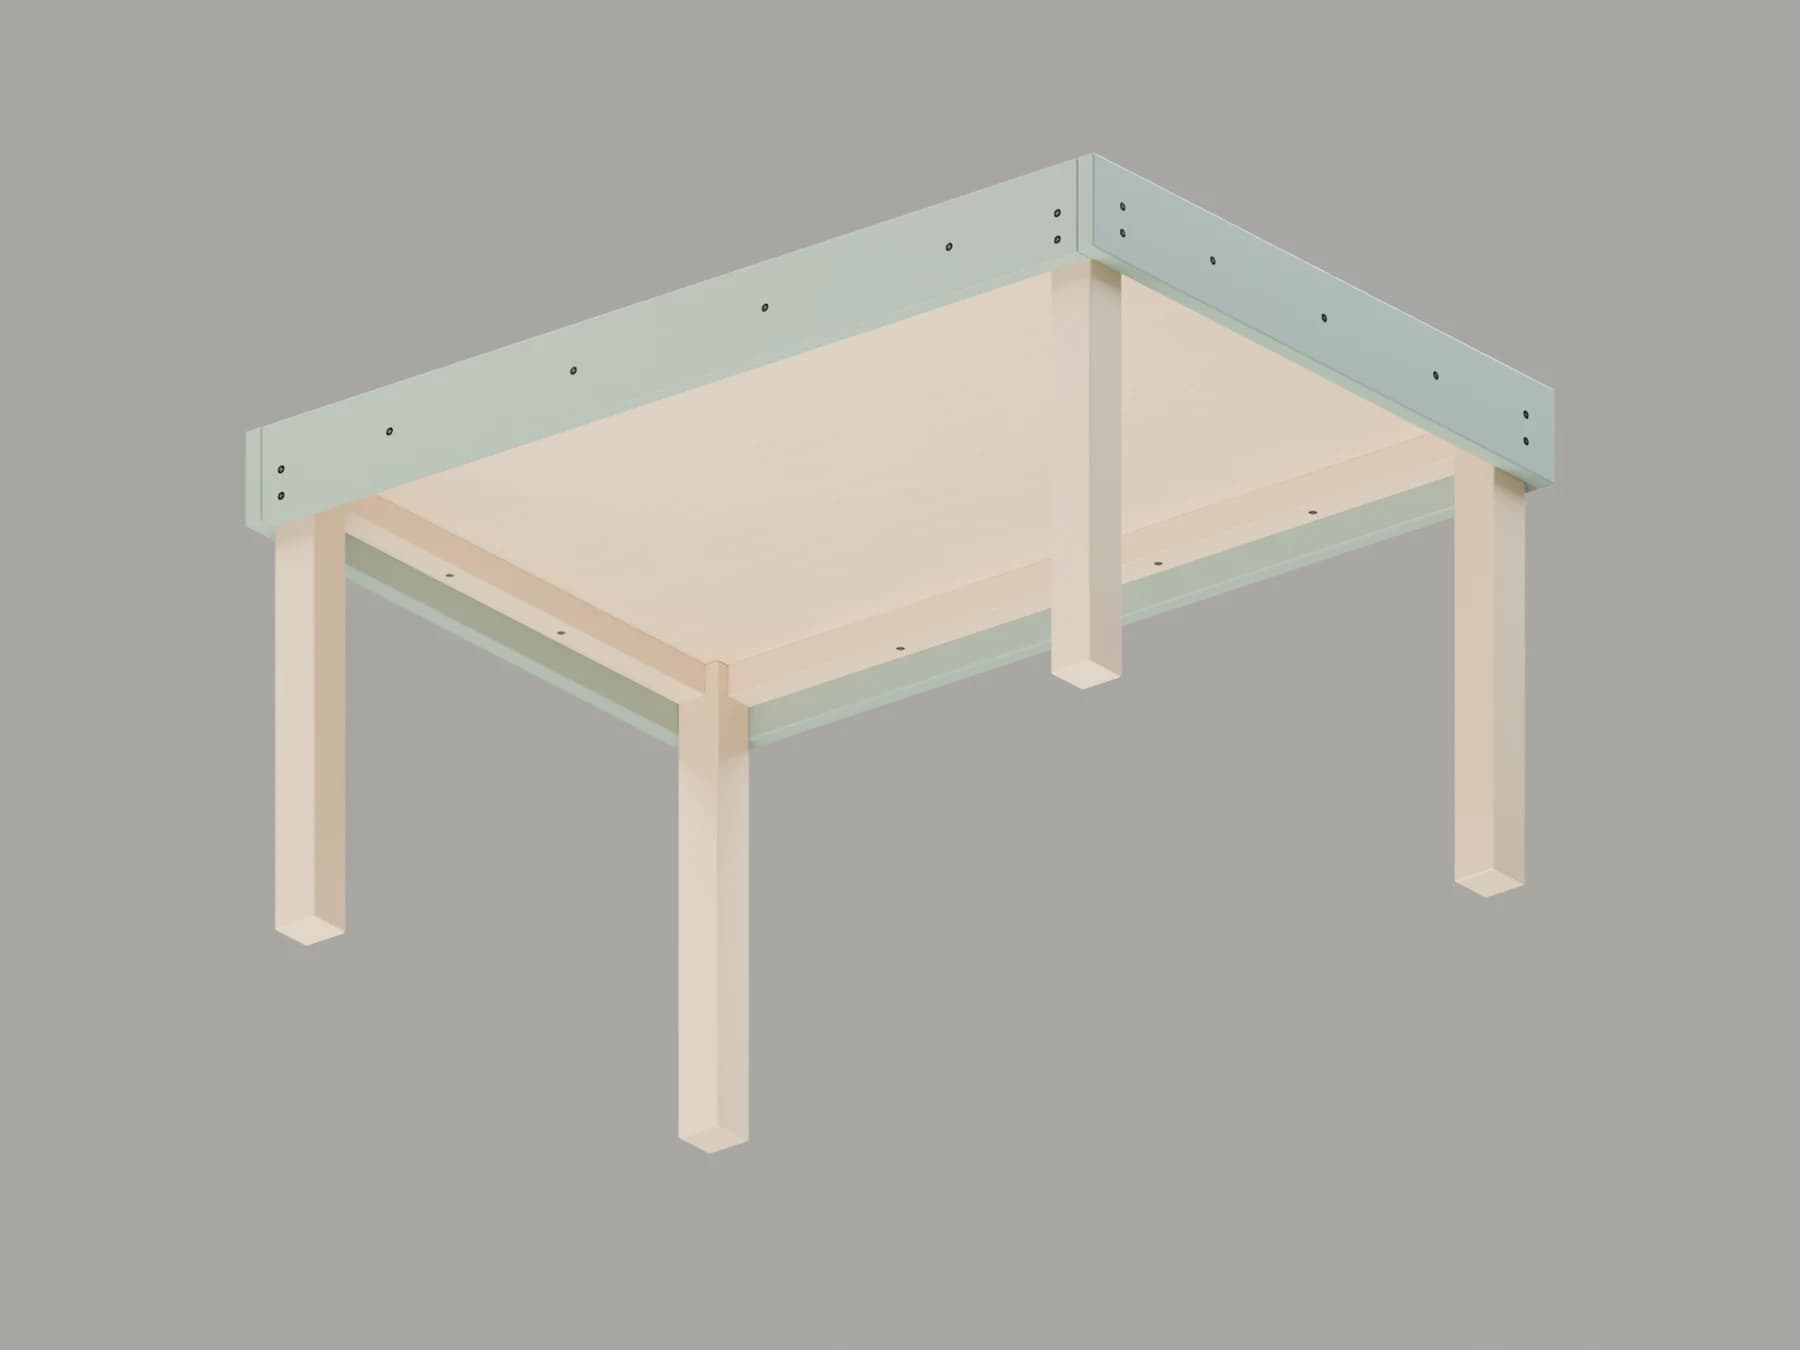
The support structure is shown clearly.
The top bears on the legs and cleats. Horizontal and upward screws are staggered. The manual shows drilling direction, depth and sequence.
05 · WHAT YOU MAKE
Thirteen parts.
No hidden mechanism.
One top, four aprons, four legs and four support cleats. The simplicity keeps preparation and assembly readable.
BUILD AND USE
Build carefully. Use with supervision.
Dimensions and screw positions have been checked digitally. A physical build and use test has not yet been documented. Check stability, joints, splinters and sharp edges during and after construction. Do not stand, sit or climb on it; use indoors on a level floor with adult supervision.
06 · THE DIGITAL PLANS
From a blank sheet
to a place for play.
Choose the language and measurements that fit your workshop. After confirmed payment, your private link opens exactly that edition.
one selected edition
One moment while we check delivery.
Digital delivery. Nothing is shipped. Sales to consumers in supported EU VAT territories.
THE COLLECTION
Four projects. One world of play.
Choose a clear digital plan for what you want to make.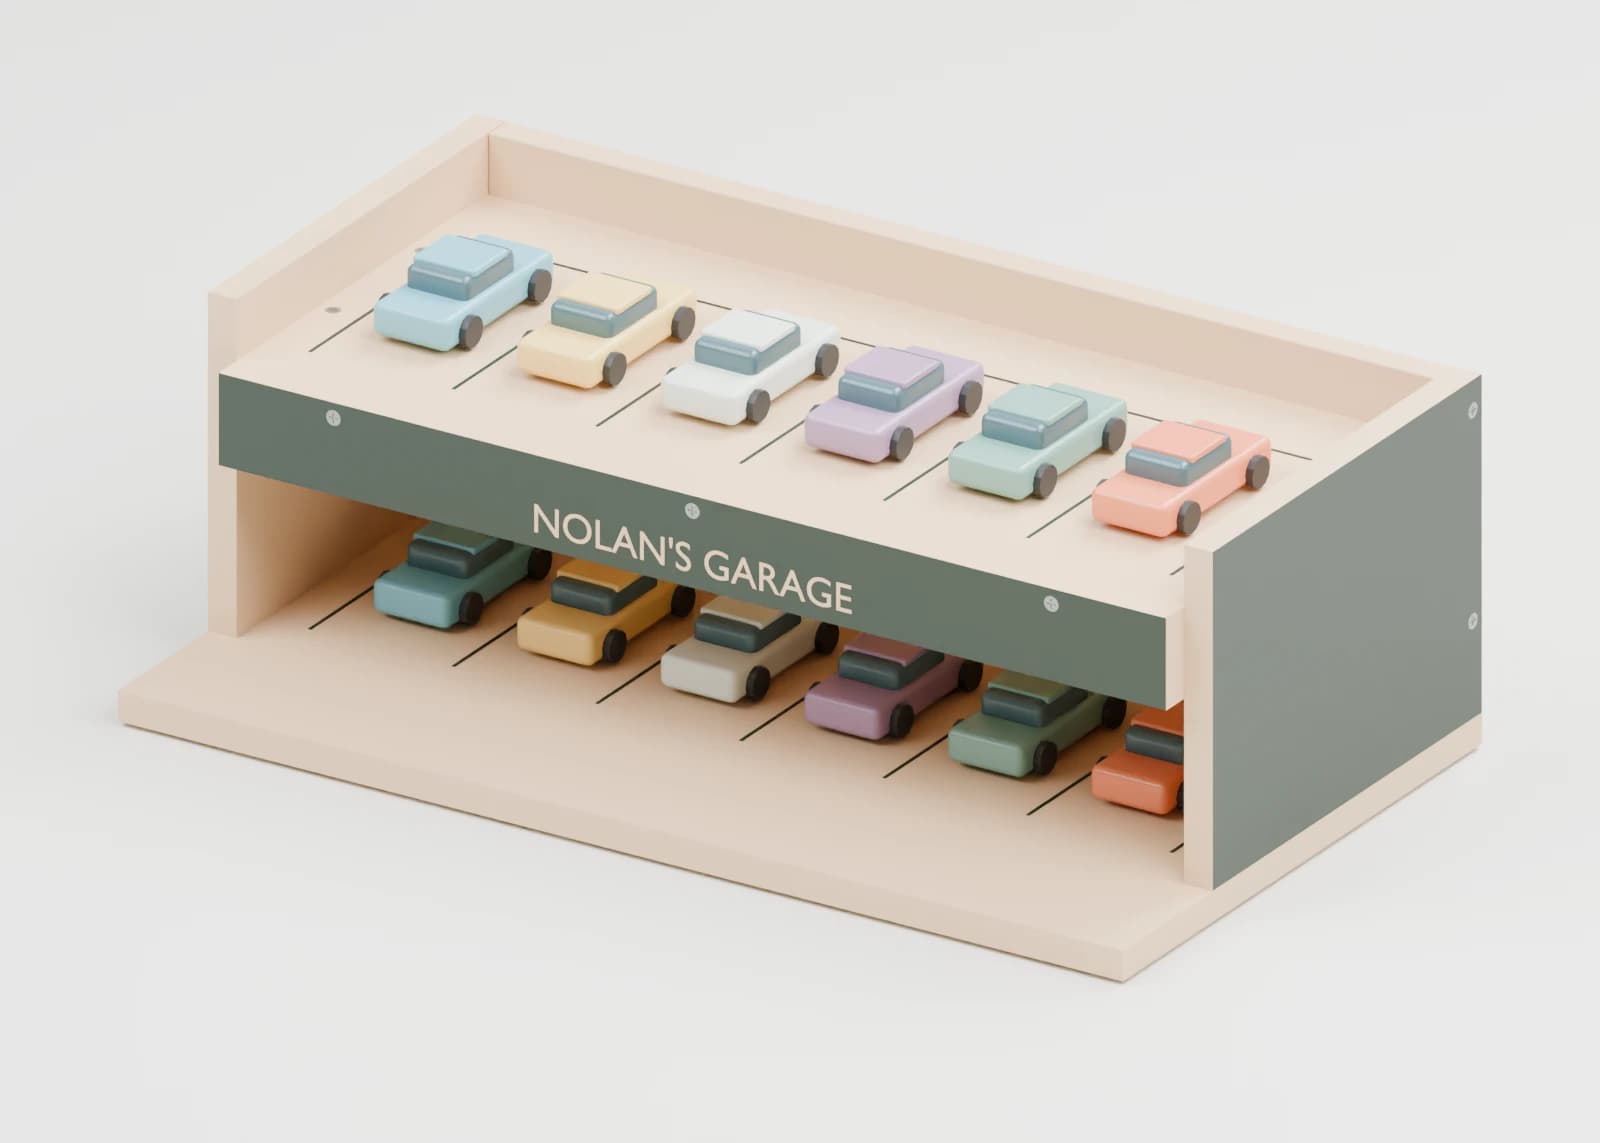
Mini Garage
A home for little cars
Explore project ↗Little Play Table
A fixed place for play
This project ↗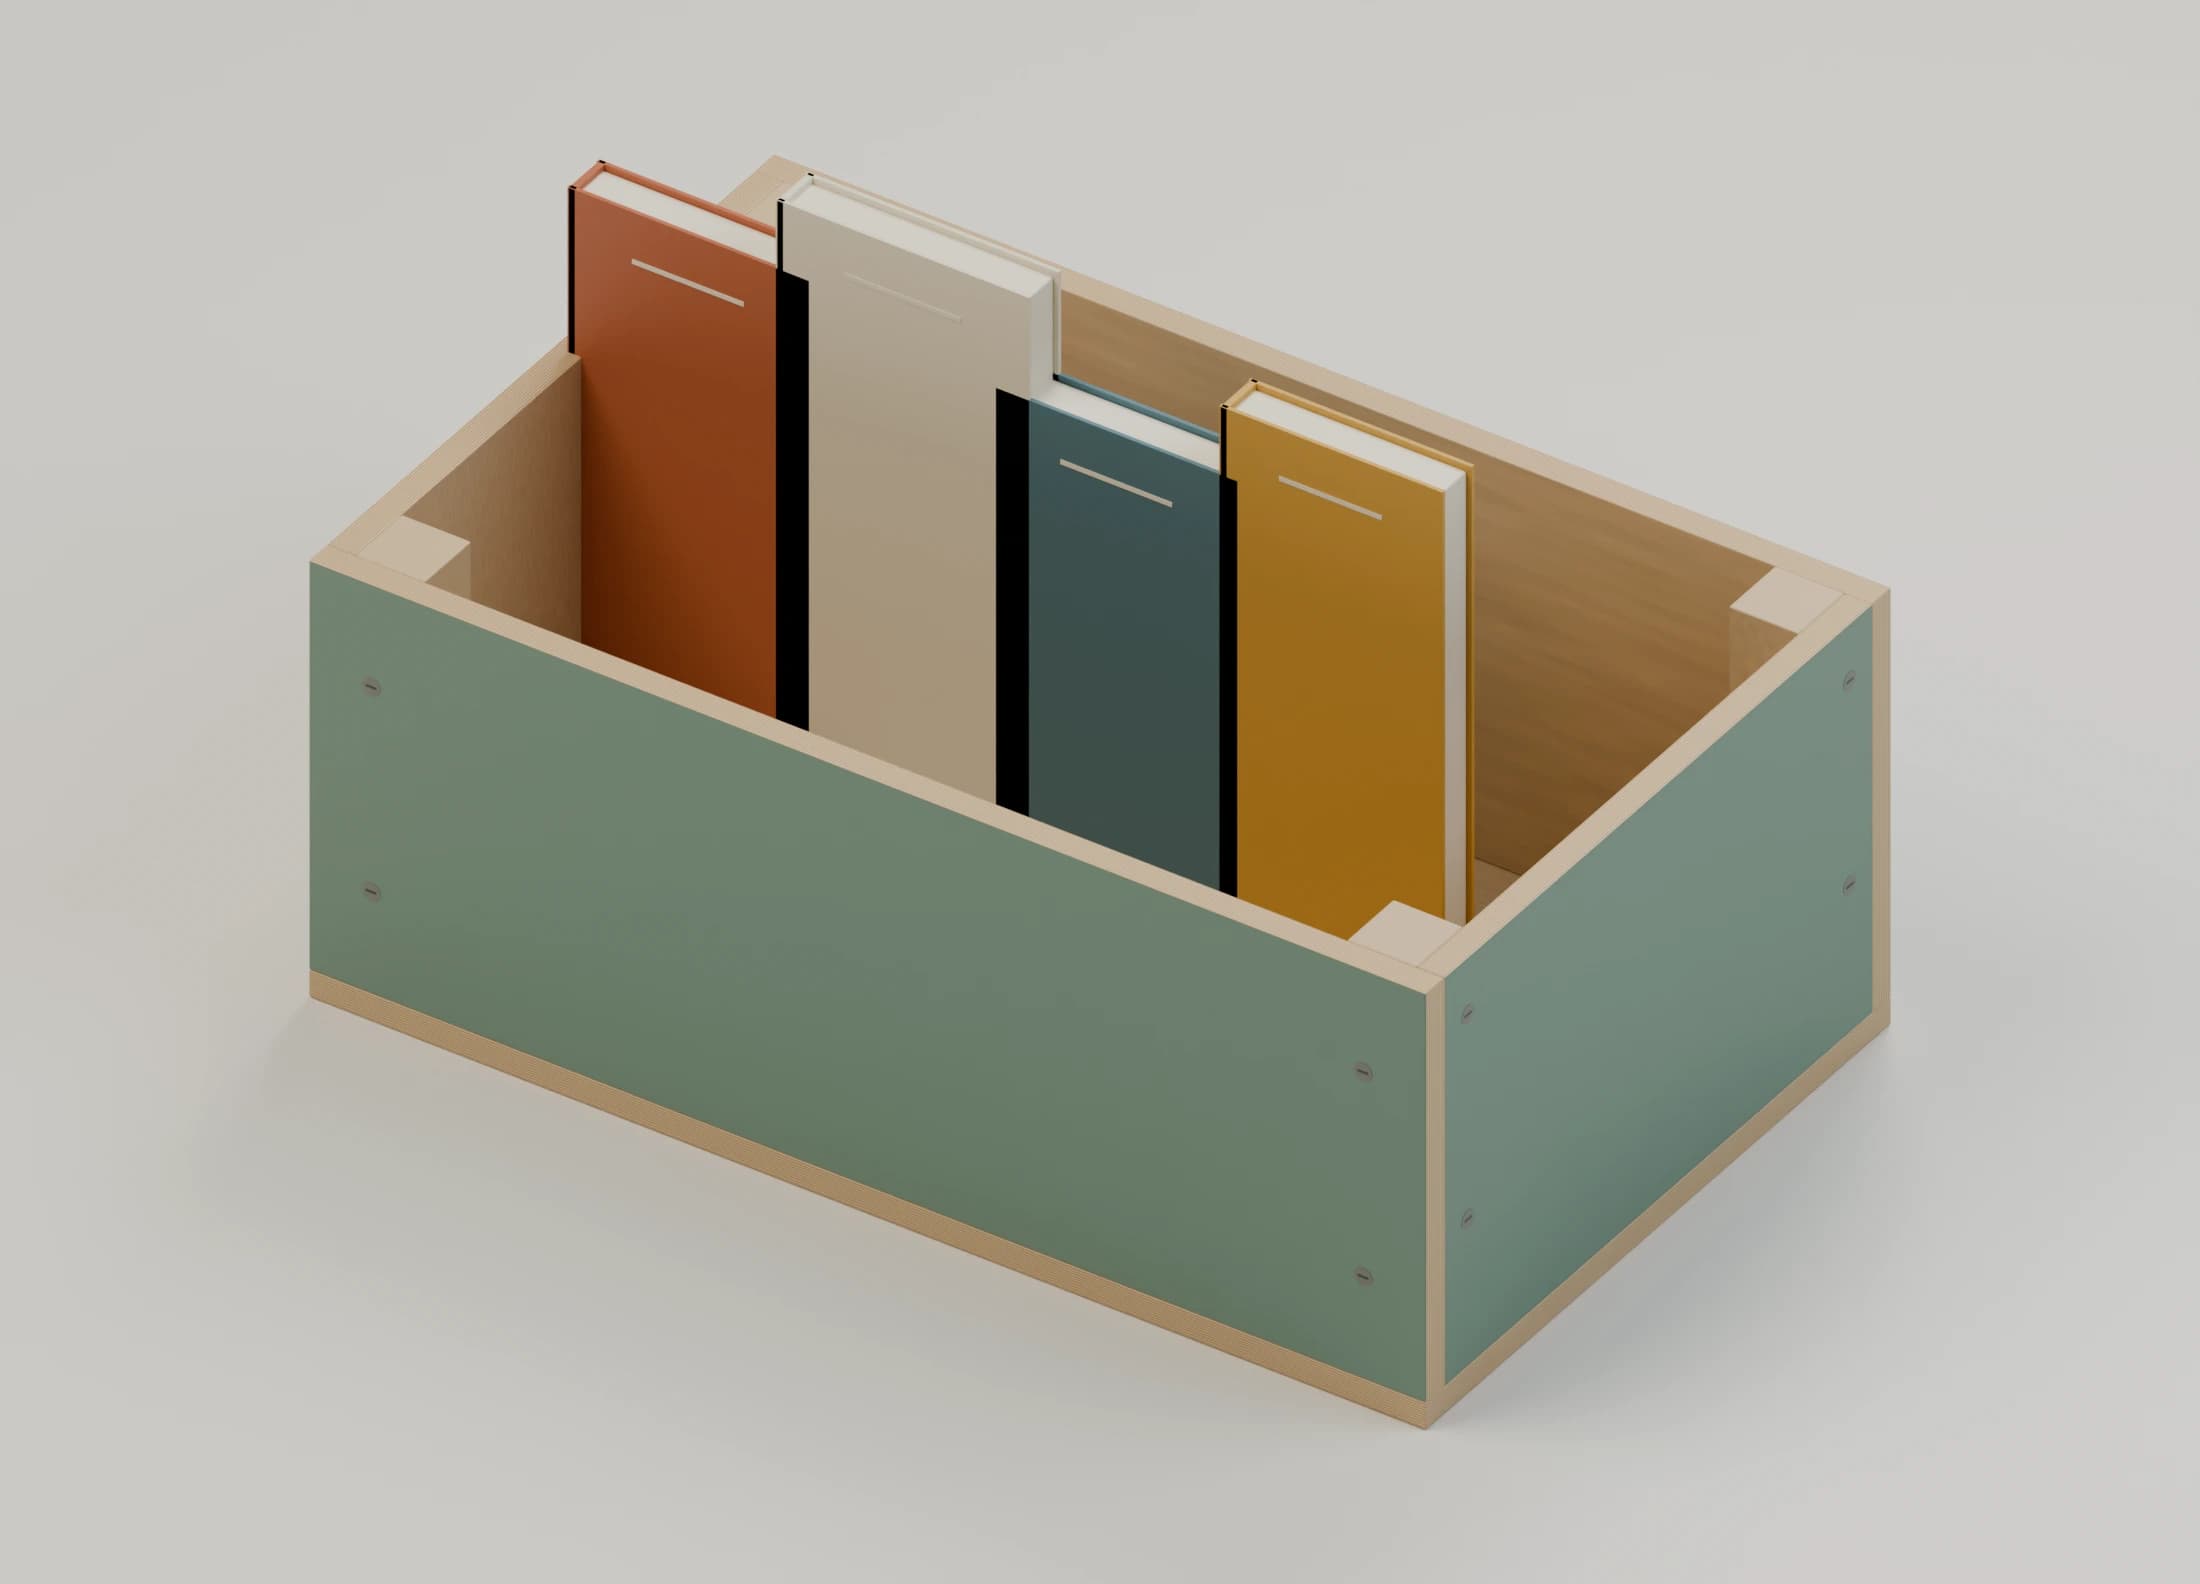
Little Book Bin
Books for a reading corner
Explore project ↗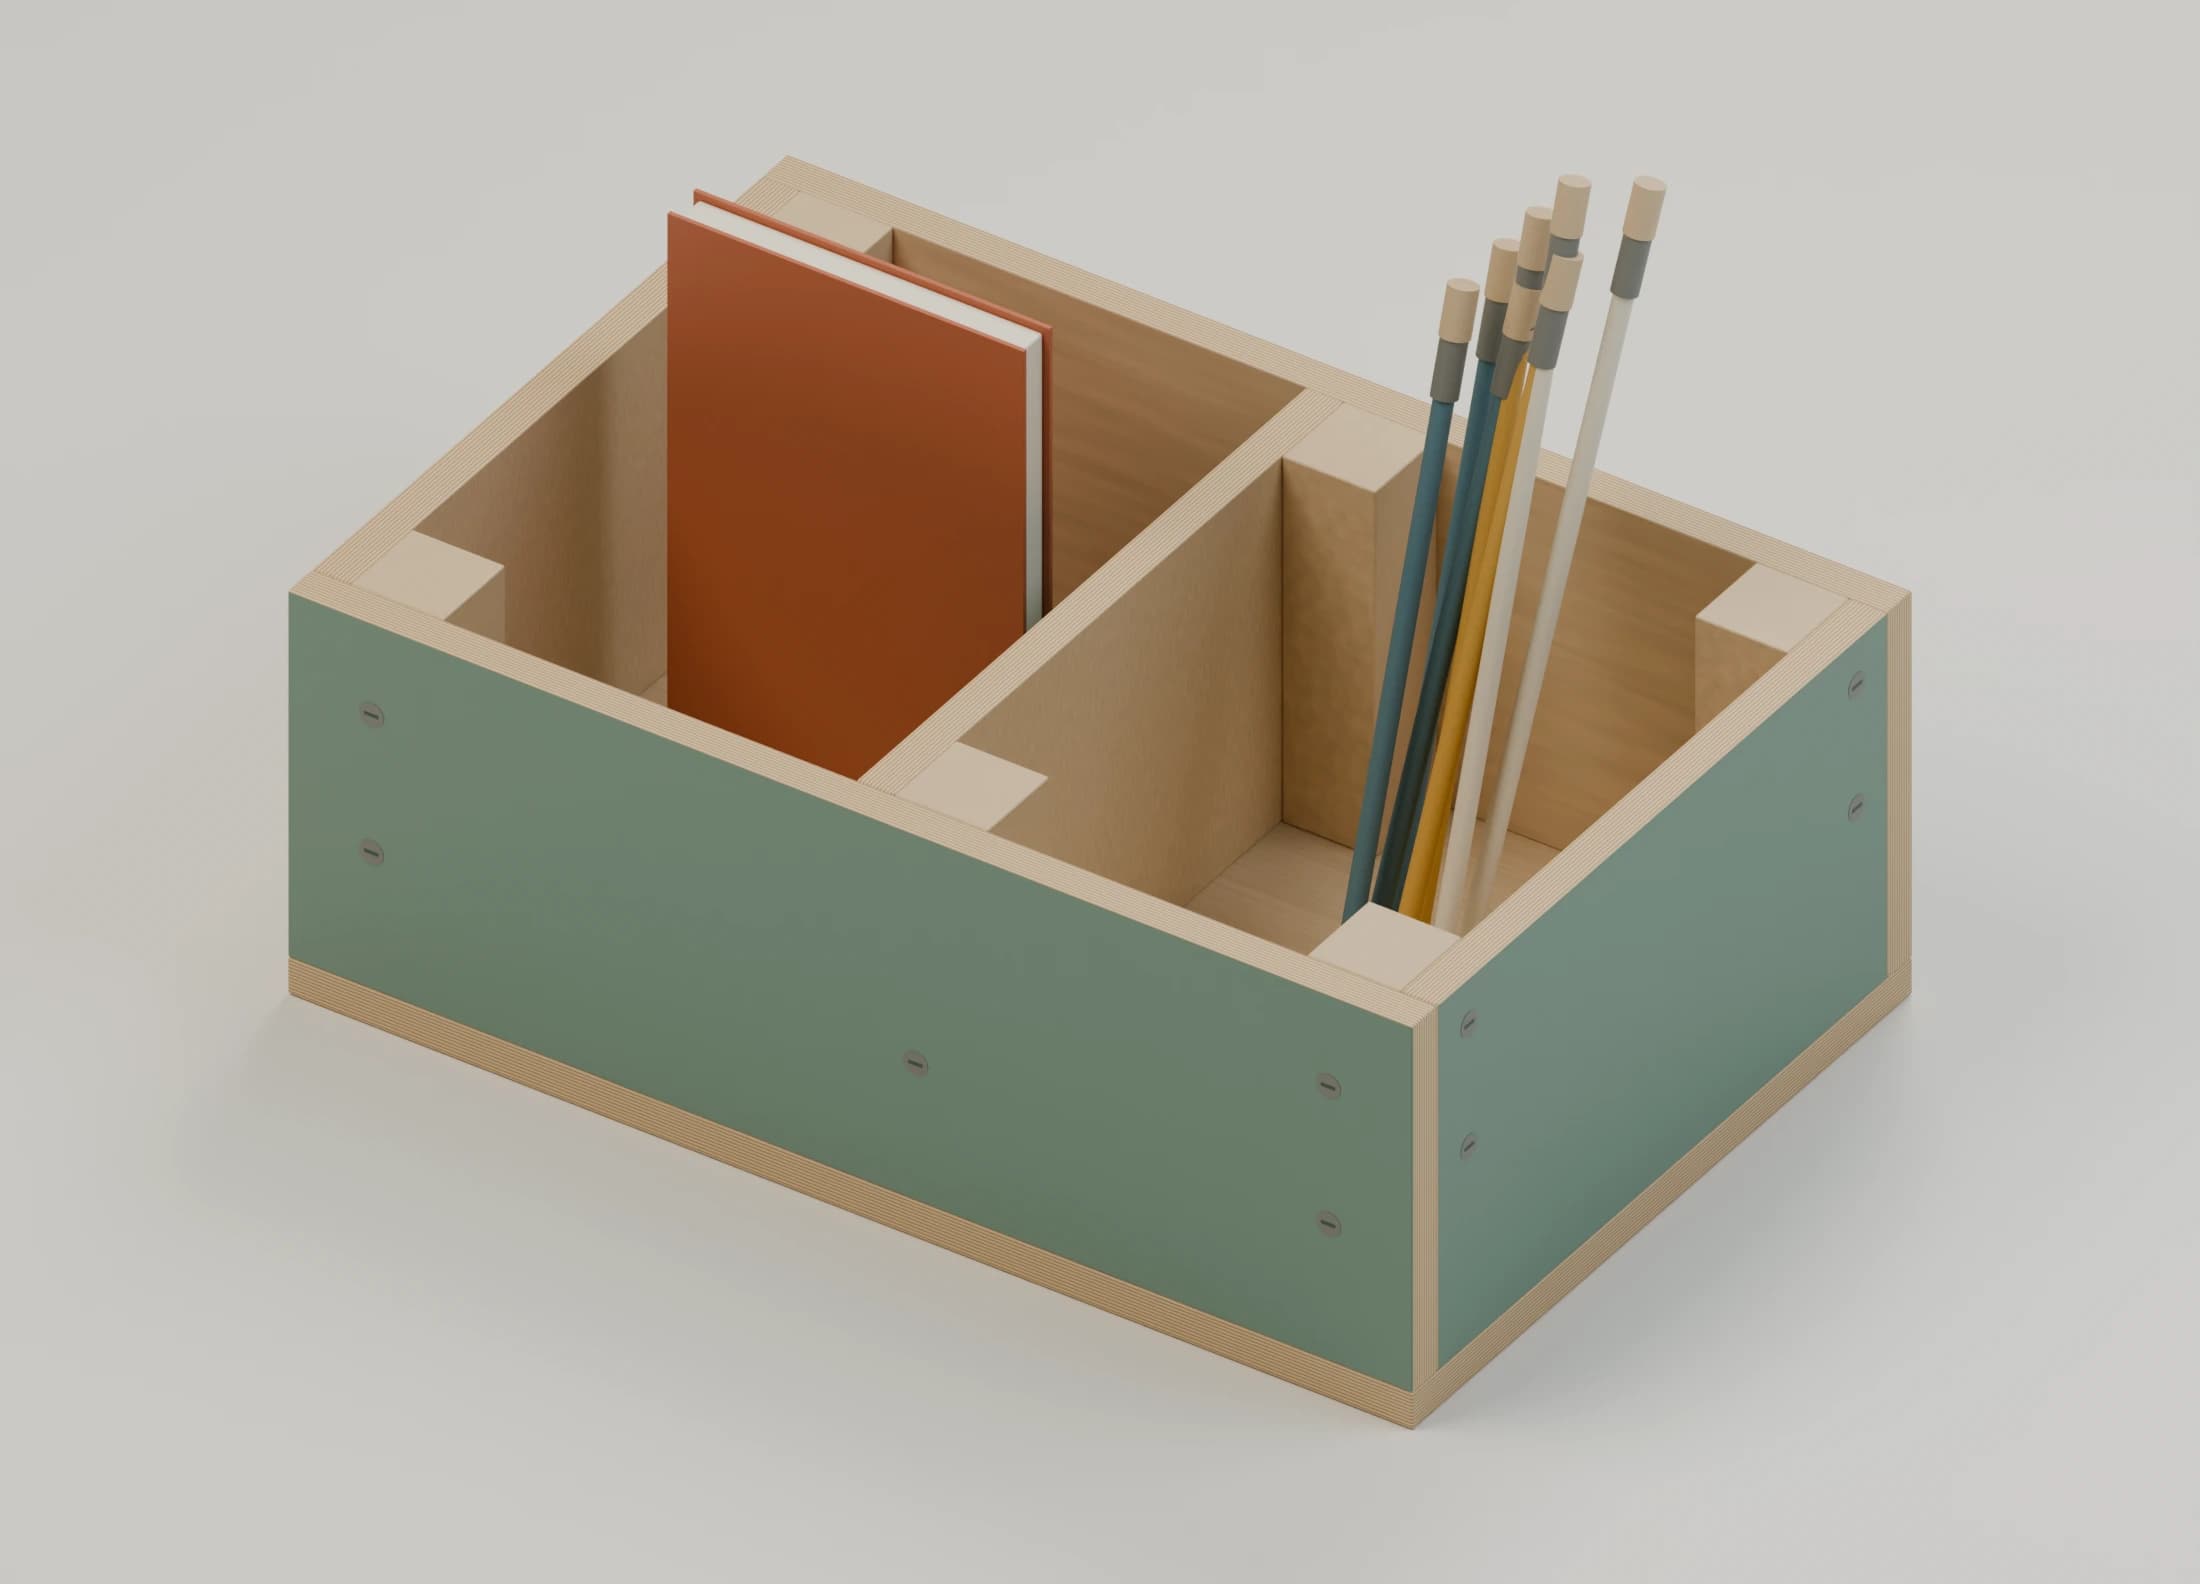
Little Art Caddy
Creative supplies on the table
Explore project ↗