Get the wood cut
Take the cut list to your wood supplier and ask if they can cut the small parts too. If you cut them yourself, use a fine-tooth hand saw or a jigsaw with a guide. Check every dimension.
FOR DADS WHO WANT TO MAKE SOMETHING
A little wooden garage with your child’s name on it. A home for all those toy cars.
The guide takes you through cutting, drilling, painting and assembly, step by step.
Digital plans · you supply the wood and tools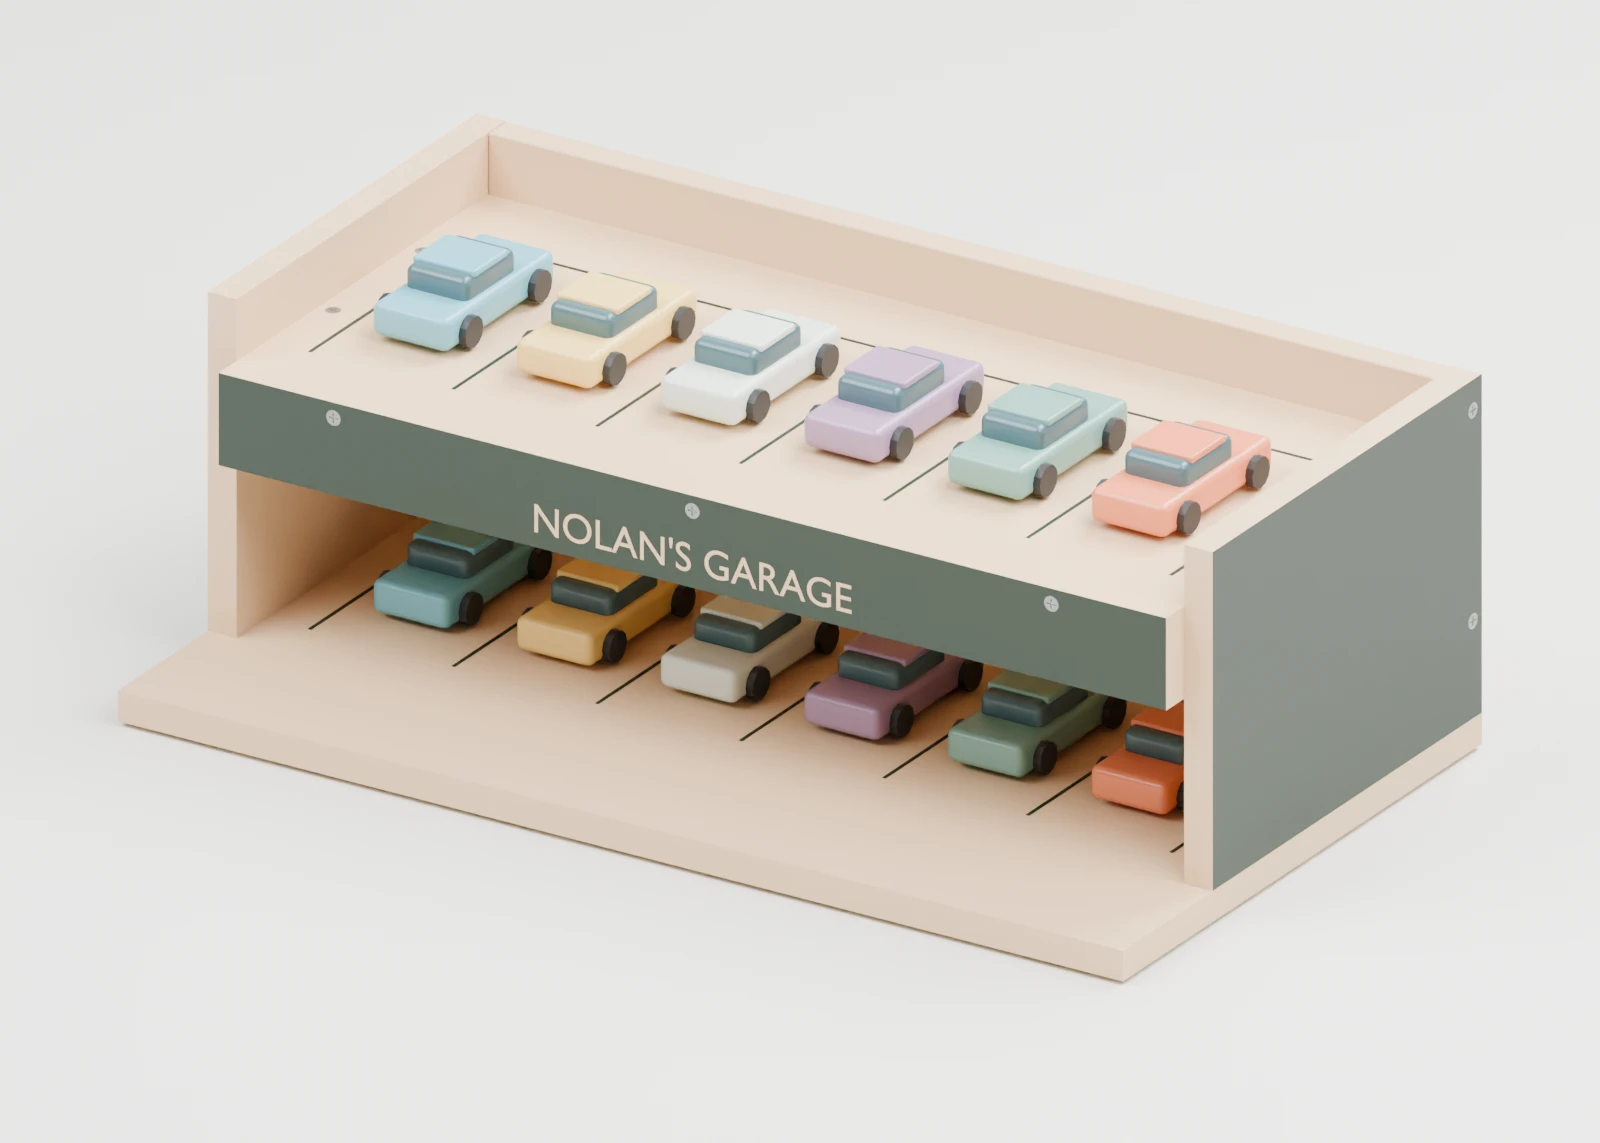 Their name. Your handiwork.
01 / A GARAGE TO BUILD YOURSELF
You don’t need a fully equipped workshop to make something personal.
Have the wood cut to size where possible. Ask whether your supplier can cut the small parts too. The guide helps with marking, drilling, sanding and assembly, so you can make a garage to fill with toy cars together.
Two open levels and space to park in front. The Mini Garage has no ramp: you place the cars on the upper level by hand.
IT STARTED WITH NOLAN
My son Nolan loves cars, especially his Hot Wheels. I wanted to make something for him: a wooden garage with his name on it.
That is where Dad & Sawdust began: plans for dads who want to make something for their children. The Mini Garage is the first design.
The plans include the parts, hole positions and assembly steps. Choose a name and colour, and make a garage for your own child’s cars.
Take a look at the plans02 / TAKE A LOOK INSIDE FIRST
A visual guide with a cut list, drilling maps and drawings for every assembly step. See what to do and what to check.
A look inside the guide. Dimensions and some instructions are omitted here; your download includes every detail.
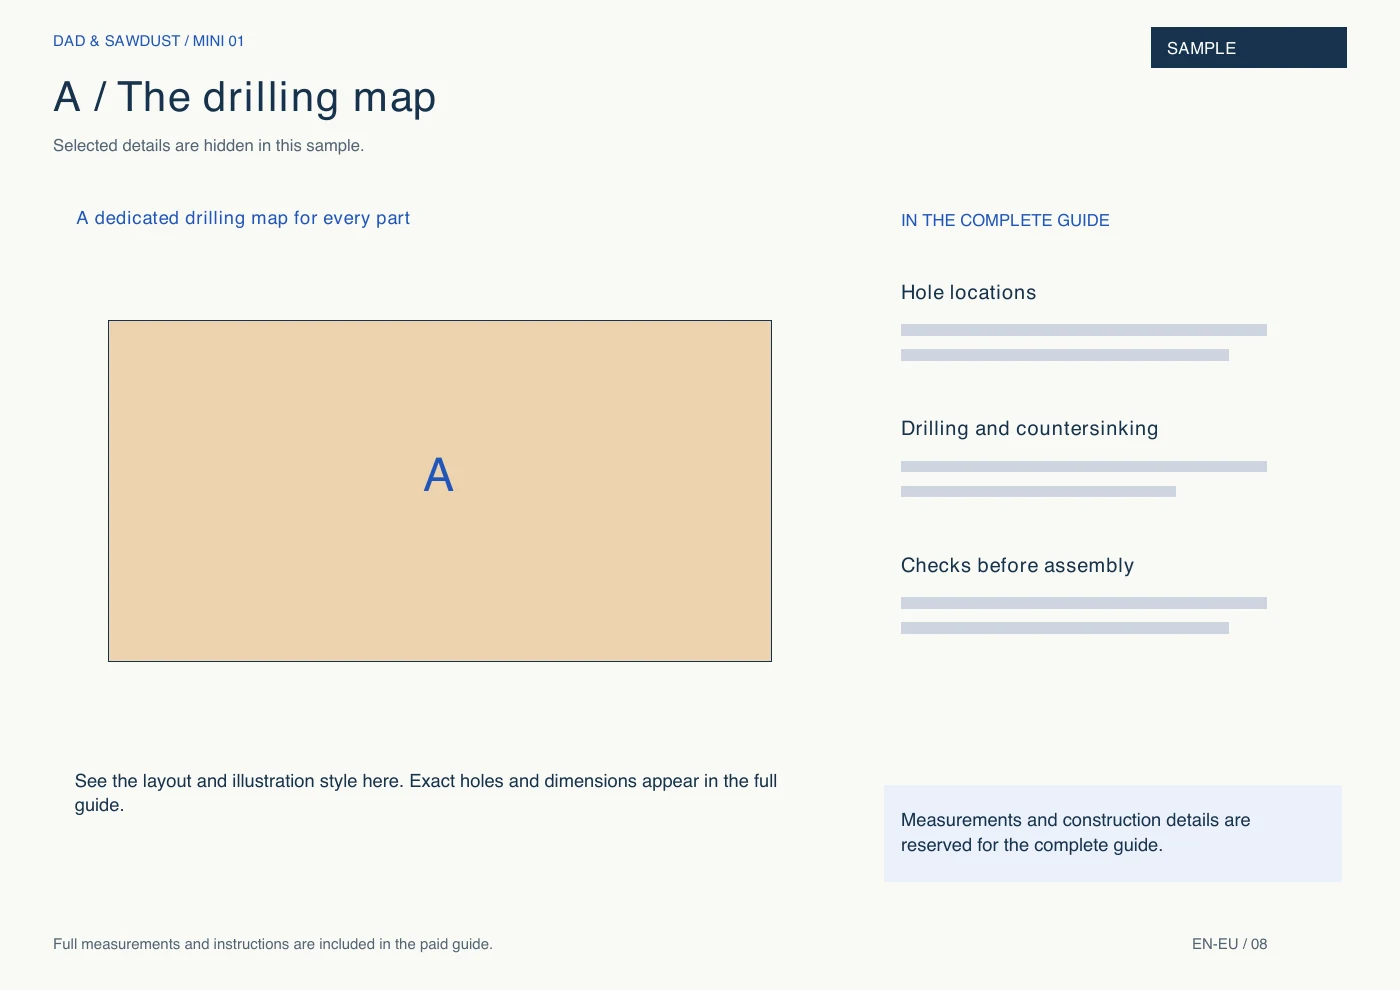
Numbered holes measured from the edges of each part. See which drill bit to use and which face to countersink.
03 / HERE’S WHAT YOU’LL DO
Work over a few relaxed sessions, allowing time for paint and glue to dry and cure.
Take the cut list to your wood supplier and ask if they can cut the small parts too. If you cut them yourself, use a fine-tooth hand saw or a jigsaw with a guide. Check every dimension.
Practise a joint on an offcut first. Then follow the drilling maps. Sand every edge smooth.
A removable letter mask keeps the name unpainted. Use the same paint for the panels and parking lines. Remove every mask.
Assemble the garage in five steps. Check every joint and remove any splinters. Allow paint and glue their full curing time.
See the design come together in 20 seconds.
3D design with instrumental music. No speech.
A 3D animation shows a two-level wooden garage with twelve toy cars. The camera reveals the front panel marked ‘NOLAN’S GARAGE’. Separate parts then come together to form the garage. The final image invites you to build your own and download the digital plans. Gentle instrumental music plays without speech.
IS THIS YOUR KIND OF PROJECT?
A project for beginners who can measure carefully and use a drill safely.
See what the steps look likeTime is an estimate and depends on experience, timber and finishing choices.
MADE WITH CARE
Choosing the wood, drilling pilot holes, smoothing edges and letting suitable paint cure fully are all part of the build. The guide explains each step.
A FEW GOOD QUESTIONS
One digital bundle with all three manuals: Dutch EU, English EU and English US. It includes cut lists, shopping lists and digital name guides. No physical product is supplied. Use one edition per build; do not mix dimensions or materials.
This is an adult building project. Follow the instructions for choosing wood, drilling, sanding and finishing; inspect the finished garage for loose joints, sharp edges and splinters. Allow paint and glue to cure fully and use age-appropriate cars. This design has not yet been physically built or tested. Suitability for children under 3 has not been established; this plan is not a safety certification.
If you enjoy designing, that is a rewarding project in itself. This guide is for anyone who wants to get building: the parts, hole positions and sequence are already laid out. The sample pages show you how the guide works.
Not necessarily. Your cost depends on timber, paint and what you already own. This project is about the pleasure of making something personal. It may cost more than buying a ready-made garage.
No. You get a digital name-printing guide. Use it to cut a temporary mask from suitable masking film, or order a pre-cut mask separately. No physical mask is included. Paint around it and peel every mask away: the wood shows through the name, with no stickers or separate letters left behind.
This is an adult construction project. Keep children away from cutting, drilling, sanding, wet paint and small parts. You can start by choosing a colour or name together.
You receive all three editions. For Europe, choose Dutch EU or English EU, with A4 paper, millimetres and EU materials. English US uses US Letter, inches and US materials. The US build uses its own dimensions; do not mix the cut lists.
IT STARTS WITH AN IDEA.
One digital bundle. All three editions included.